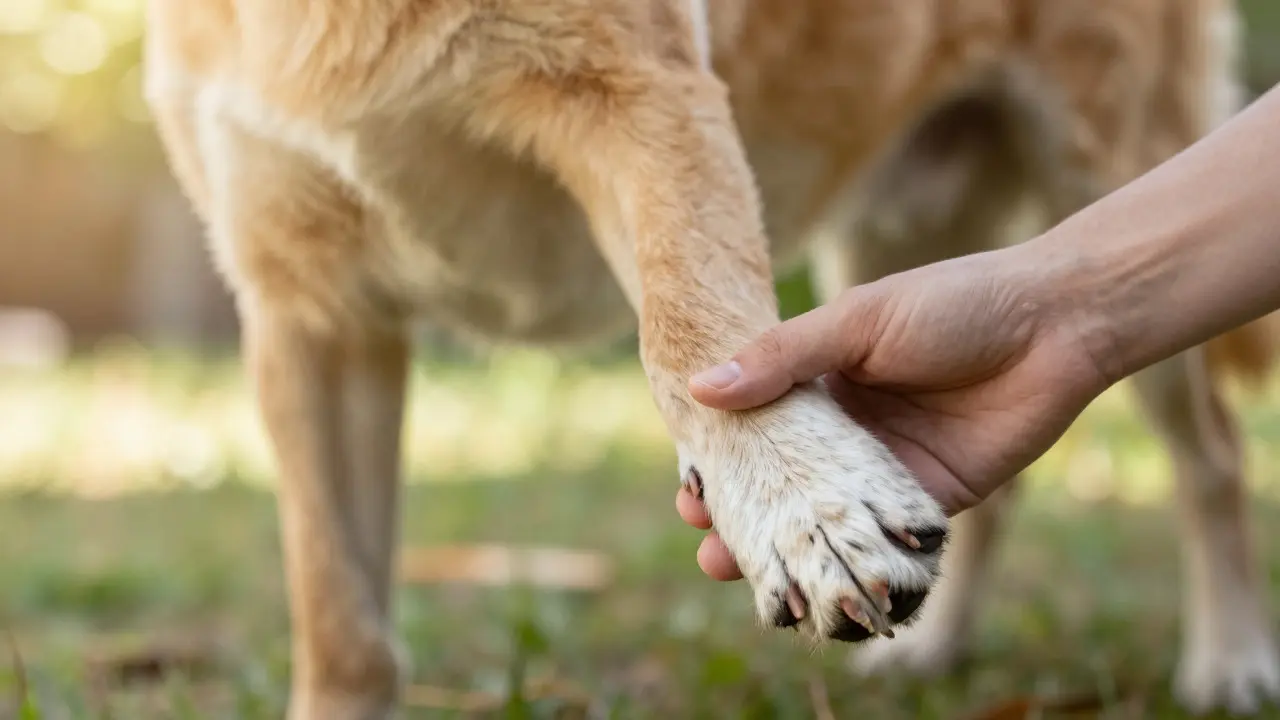
Imagine this: your dog is whimpering in the yard, refusing to put weight on one leg. You look closer and see the limb at an unnatural angle. Panic sets in, but before you rush to the vet, there’s a critical step that can make or break the outcome: proper immobilization. Most owners freeze or try to straighten the bone, which often causes more damage. The goal isn’t to fix the break-it’s to stop it from moving so the tissue doesn’t tear further while you transport your pet.
This guide breaks down exactly how to stabilize a suspected fracture in a dog, what materials to use, and when to skip splinting entirely. Whether you’re dealing with a puppy who jumped off a couch or an older dog hit by a car, these techniques are designed to be safe, effective, and doable with household items.
Understanding Canine Fractures and Why Movement Hurts
A fracture is a crack or complete break in the bone structure of a dog's limb or spine. In dogs, fractures are classified by their location (distal, mid-shaft, or proximal) and type (closed or open). A closed fracture means the skin is intact, while an open fracture involves the bone piercing through the skin, creating a high risk of infection.
Why does movement matter? When a bone breaks, the sharp edges dig into surrounding muscles, nerves, and blood vessels. Every time the limb moves, those jagged ends grind against soft tissue. This increases pain, swelling, and the likelihood of compartment syndrome-a condition where pressure builds up inside the muscle, cutting off blood flow. Immobilization reduces this grinding action, keeping the environment around the break as stable as possible until professional veterinary care is available.
- Closed fractures: Skin is intact. Easier to treat, lower infection risk.
- Open fractures: Bone visible or touching air. Requires immediate antibiotic treatment and surgery.
- Greenstick fractures: Common in puppies; the bone bends and cracks like a green branch rather than snapping completely.
Pre-Splint Assessment: Check Before You Wrap
Before you grab any tape or sticks, you need to assess the situation. Rushing into a splint without checking vital signs can mask serious internal bleeding or shock. Approach your dog calmly. Speak softly. If the dog is aggressive due to pain, muzzling may be necessary-use a soft cloth muzzle if a commercial one isn't handy to prevent bites during handling.
- Check breathing: Is the chest rising and falling normally? Rapid, shallow breaths indicate pain or shock.
- Check gums: Lift the lip. Gums should be pink. Pale, white, or blue gums suggest poor circulation or oxygenation.
- Locate the injury: Identify which limb is affected. Do not try to straighten it. Just observe.
- Check for pulses: Feel for a pulse below the knee (tarsus) or above the paw (metacarpals/metatarsals). No pulse means severe vascular compromise.
If the dog is in shock (weak pulse, pale gums, cold ears), prioritize warmth and rapid transport over splinting. A splint takes time; shock kills quickly.
Materials You Need for Effective Immobilization
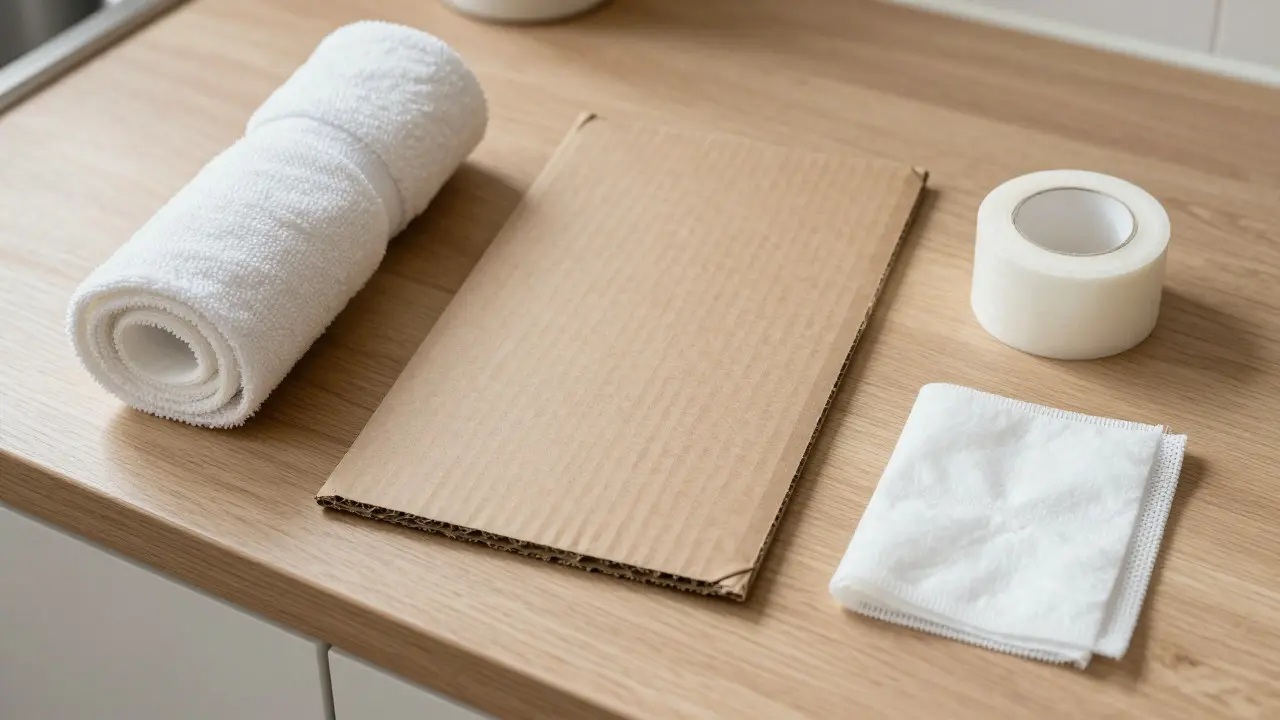
You don’t need specialized medical equipment. In fact, rigid commercial splints can sometimes cause more harm if applied incorrectly. Instead, focus on padding and gentle rigidity. Here’s what works best:
| Material Type | Best For | Why It Works / Fails |
|---|---|---|
| Towel or Blanket | Padding | Absorbs moisture, cushions the bone, prevents pressure sores. |
| Magazine or Cardboard | Rigid Support | Lightweight, flat, easy to cut to size. Provides structural support without weight. |
| Scotch Tape or Vet Wrap | Securing | Holds the splint in place. Vet wrap is stretchy and adheres well; scotch tape is a backup. |
| Band-Aids or Gauze | Wound Coverage | Covers open wounds to keep dirt out. Do not wrap tightly directly on skin. |
| Wooden Spoons or Rulers | Emergency Rigid Support | Use only if no cardboard available. Must be padded heavily to avoid pressure points. |
| Elastic Bandages (Ace Wraps) | Avoid for Fractures | Too tight, restricts circulation, hard to adjust if swelling occurs. |
The key principle here is "loose enough to fit two fingers" under the wrap. Swelling will happen after the injury, so if you wrap it too tight initially, you’ll cut off blood flow within hours.
Step-by-Step: How to Splint a Dog Leg
Let’s walk through the actual process. Assume you have a fracture in the front left leg, specifically in the radius or ulna (the forearm bones). The technique remains similar for hind legs, though positioning is trickier.
- Prepare the area: Have your helper hold the dog gently. If the dog is small, lay them on their side. If large, keep them standing or lying on the unaffected side.
- Apply padding: Roll a towel or blanket loosely around the injured limb. Start from the paw and roll up toward the shoulder or hip. Leave the paw exposed so you can check toe color and temperature later.
- Attach the rigid support: Place a magazine or piece of cardboard along the outside of the padded limb. Align it so it covers the entire length of the broken section plus a joint above and below the fracture. For example, if the break is in the middle of the arm, the splint should extend from just below the elbow to just above the wrist.
- Secure the splint: Use strips of tape or vet wrap to secure the cardboard to the towel. Wrap horizontally, not diagonally. Make sure the wrap is snug but not tight. You should be able to slide two fingers between the wrap and the leg.
- Immobilize the joints: The most critical part. The splint must hold the joint above and the joint below the fracture in a neutral position. If you only immobilize the break itself, the joints will still move, causing the bone ends to shift.
- Check circulation: After wrapping, press a toenail. It should turn white then return to pink within 2 seconds. If it stays white, the wrap is too tight. Loosen it immediately.
For hind legs, the challenge is keeping the hip and knee aligned. Often, it’s easier to bandage the injured hind leg to the healthy hind leg. Pad both legs together, then wrap them as a unit. This uses the healthy leg as a natural splint for the injured one.
Special Cases: Puppies, Large Breeds, and Open Fractures
Not all fractures are created equal. Your approach might need tweaking based on your dog’s size and the nature of the break.
Puppies: Their bones are softer and contain cartilage. Greenstick fractures are common. These often heal well with minimal intervention, but they still need stabilization. Be gentler with puppies; their tissues are more delicate. A simple towel roll might be sufficient without a rigid board, as the goal is just to limit motion, not create a cast.
Large Breeds: Great Danes or German Shepherds have heavy limbs. A standard magazine might bend under their weight. Use multiple layers of cardboard or a sturdy piece of foam insulation. Ensure the splint is long enough to cover the massive muscle mass. Also, large dogs are harder to transport. Use a blanket as a stretcher, sliding it under the dog and lifting four corners. Keep the splinted leg elevated slightly above heart level to reduce swelling.
Open Fractures: If you see bone sticking out, do not push it back in. Cover the wound with a clean, moistened gauze or cloth to keep it from drying out. Then proceed with splinting as usual. The priority is preventing contamination and stabilizing the bone. Antibiotics are critical, so tell the vet immediately that the fracture was open.
Transporting Your Dog Safely to the Vet
Splinting is only half the battle. Getting your dog to the clinic without re-injuring the limb is crucial. Never let a dog with a fractured leg walk, even if they seem okay. One wrong step can displace the bone fragments.
- Small Dogs: Carry them in a carrier or wrapped in a towel. Hold them close to your body to minimize shaking.
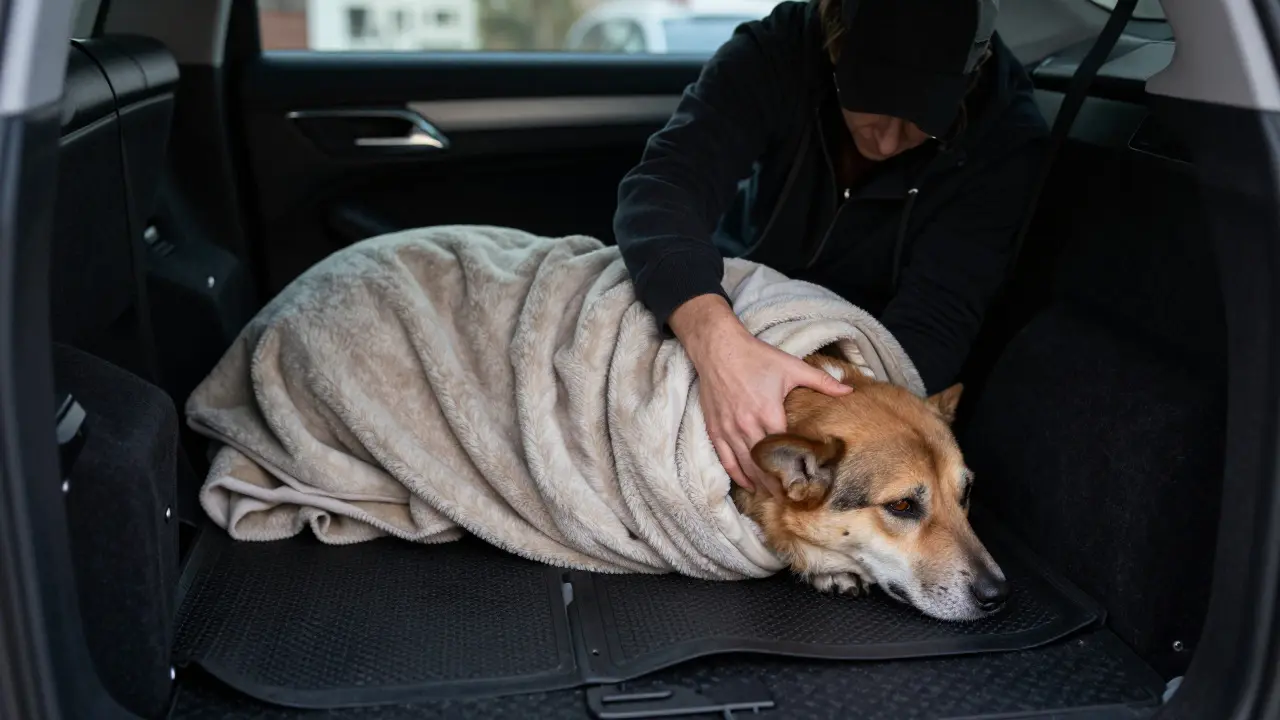
- Medium/Large Dogs: Use a blanket or sheet as a makeshift stretcher. Slide it under the dog, lift all four corners, and carry. Keep the head and neck supported.
- In the Car: Place the dog on a non-slip surface (like a rubber mat) in the back seat. Secure them with a harness or tie them to the seatbelt if possible. Turn off the radio and drive smoothly to avoid jolts.
Keep the dog warm. Stress and cold can worsen shock. A blanket over the dog (not covering the face) helps maintain body temperature.
Common Mistakes to Avoid
Even well-meaning owners make errors that complicate treatment. Here are the biggest ones:
- Tight Wrapping: The #1 mistake. Swelling occurs rapidly. A wrap that feels good now can strangle the limb in an hour. Always leave room for expansion.
- Ignoring the Joints: Splinting only the break point allows the elbow or knee to flex, moving the bone fragments. Always include the adjacent joints.
- Using Wet Materials: Wet towels or blankets conduct heat away from the body, leading to hypothermia. Use dry padding.
- Delaying Transport: Home splinting is a bridge, not a cure. The longer you wait, the higher the risk of complications like nerve damage or non-union (bone failing to heal).
- Feeding Immediately: Your dog will likely need surgery. An empty stomach reduces anesthesia risks. Withhold food until the vet says otherwise. Water is usually okay in small sips unless vomiting is present.
Frequently Asked Questions
How long can I leave a splint on my dog?
Only until you reach the vet. A home splint is temporary. Leaving it on for more than 24 hours increases the risk of pressure sores and circulatory issues. The vet will replace it with a proper cast or external fixator.
What if I don't have tape or vet wrap?
Use strips of clothing, scarves, or even torn-up bedsheets. Cut them into 2-inch wide strips. They won't stick as well, but they will hold the splint in place temporarily. The goal is stability, not adhesion.
Should I give my dog pain medication before going to the vet?
Only if prescribed by your vet previously. Human medications like ibuprofen or acetaminophen can be toxic to dogs. If you have leftover gabapentin or another approved pain med from a previous vet visit, you can give a dose, but call ahead to confirm.
Can I set the bone myself?
No. Setting a bone requires precise alignment that only imaging (X-rays) can guide. Trying to manipulate the bone without sedation causes extreme pain and often displaces the fragments further. Just immobilize and transport.
What if the dog keeps trying to chew the splint?
Chewing indicates anxiety or pain. Try distracting them with a calm voice or a treat (if allowed). If they persist, consider covering the splint with a loose sock or additional layer of fabric to make it less appealing. Muzzle them during transport if necessary.