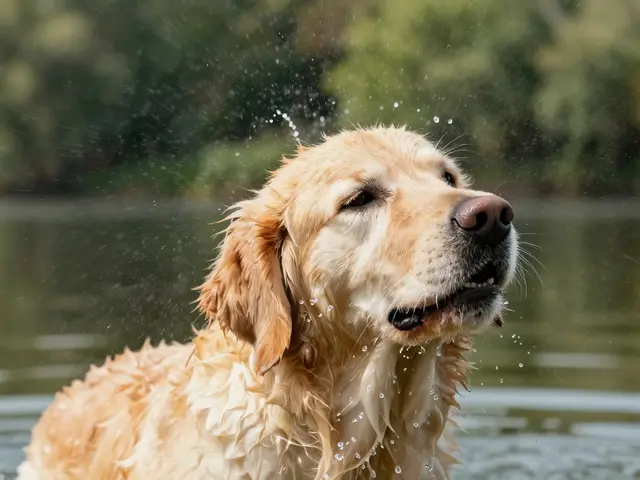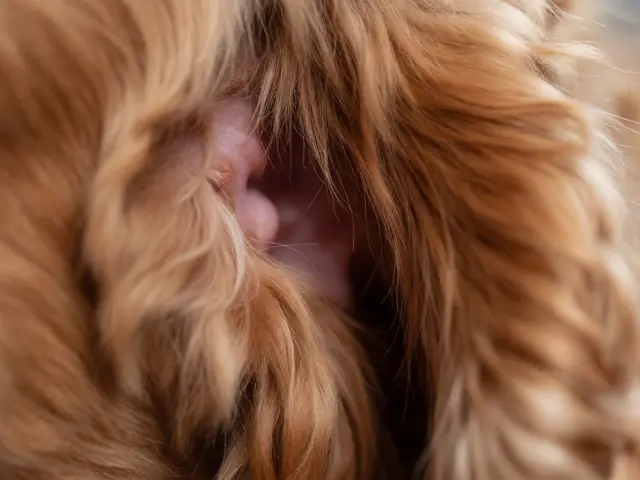
Water in a dog's ear is more than just an annoyance; it is the primary catalyst for canine otitis externa, a painful infection that affects up to 20% of dogs treated by veterinarians. If you have ever watched your pup shake its head violently after a swim or scratch at its ear until it bleeds, you know the risk is real. Proper ear drying isn't just about comfort-it is a critical preventive measure that stops bacteria and yeast from thriving in the dark, moist environment of the ear canal.
The goal here is simple: remove moisture without causing trauma. Many owners make the mistake of using cotton swabs deep inside the canal, which often pushes debris further in or scratches the delicate skin. Instead, we focus on safe, effective techniques that protect your dog’s hearing and skin health while keeping them calm during the process.
Why Moisture Is the Enemy
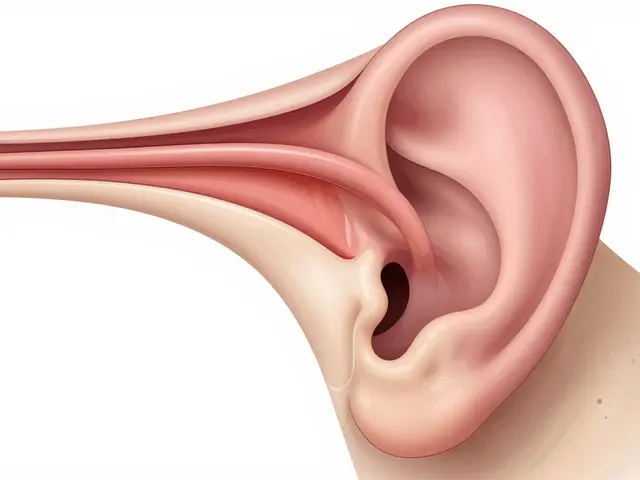
To understand why drying matters, you need to look at the anatomy of a dog's ear. Unlike humans, who have a straighter ear canal, dogs have an L-shaped structure. This design helps funnel sound but also traps water. When water remains trapped, it lowers the pH balance of the ear, creating a perfect breeding ground for Malassezia pachydermatis, a type of yeast naturally found on dog skin. In dry conditions, this yeast is harmless. In wet conditions, it multiplies rapidly, leading to inflammation, odor, and pain.
Bacteria like Pseudomonas aeruginosa also thrive in these damp environments. Once an infection starts, treatment can take weeks and require expensive medications. Prevention through proper drying takes less than five minutes. It is a small effort with a massive payoff for your dog's long-term health.
Tools You Need for Safe Drying
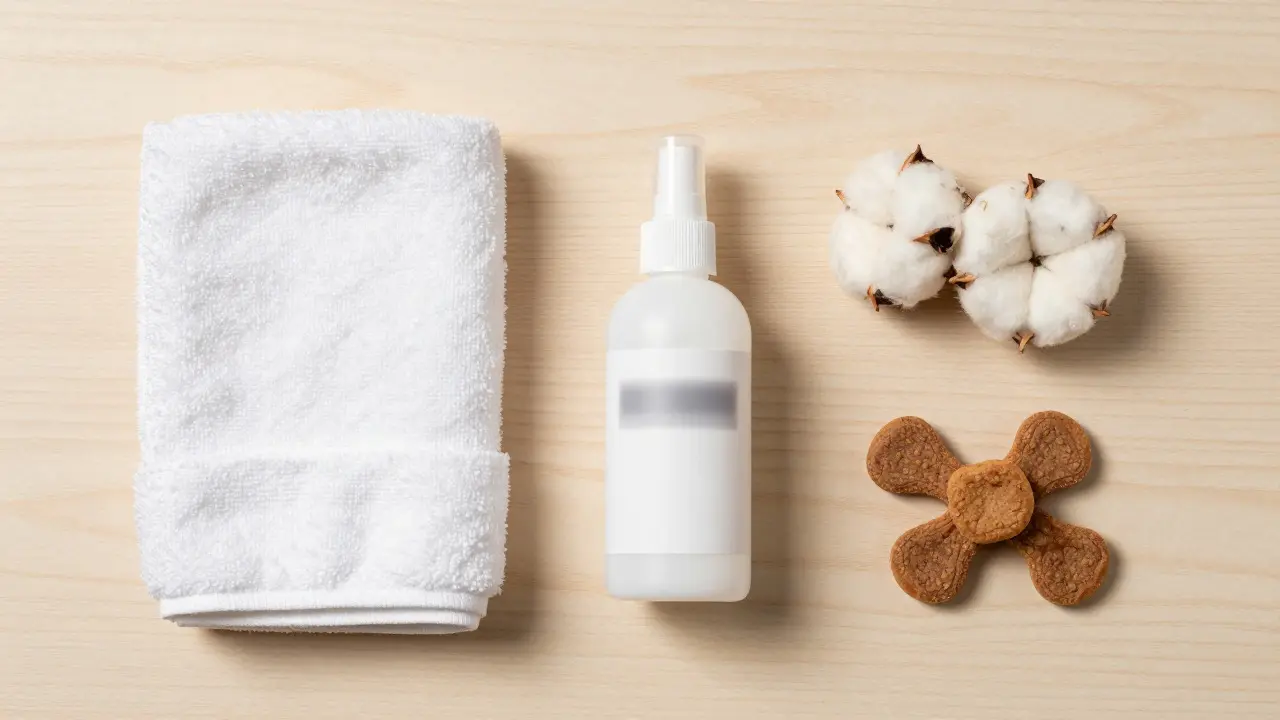
You do not need fancy equipment to keep your dog's ears healthy. A few basic items will do the job effectively. Here is what should be in your grooming kit:
- Soft Cotton Balls or Gauze Pads: These are absorbent and gentle. Avoid fluffy cotton balls that shed fibers, as loose strands can get stuck in the ear.
- Veterinarian-Approved Ear Cleaner: Look for products containing mild antiseptics like chlorhexidine or acidic buffers to maintain proper pH. Avoid alcohol-based cleaners unless specifically prescribed, as they can sting and irritate sensitive skin.
- A Towel: For wiping the outer ear (pinna) dry.
- Treats: High-value rewards to associate the process with positive experiences.
Avoid using hairdryers directly on the ears. The heat can burn the thin skin, and the noise often frightens dogs, making future grooming sessions difficult. If you must use air, use a cool setting and keep the dryer at least six inches away, but towel drying is usually sufficient and safer.
Step-by-Step Drying Process
Consistency is key. Whether your dog has been swimming in a lake or just had a bath, follow these steps immediately after getting out of the water.
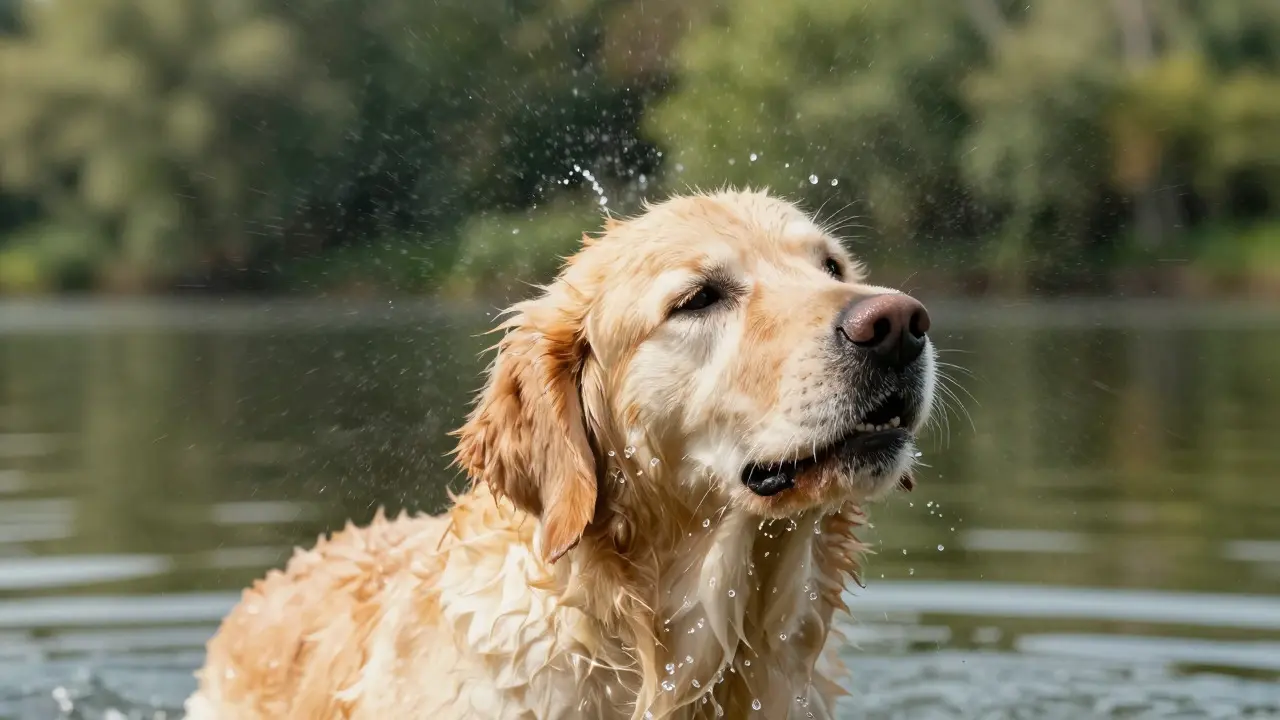
- Catch the Shake: Most dogs will shake their heads vigorously right after exiting water. Let them do this. It helps dislodge water from the outer part of the canal. Hold your dog gently if necessary to prevent them from spinning around and getting dizzy.
- Wipe the Outer Ear: Use a warm, damp towel to wipe down the visible parts of the ear (the pinna). Remove any mud, algae, or soap residue. Then, use a dry towel to pat the area completely dry. Pay attention to the folds where moisture tends to hide.
- Apply Ear Cleaner (Optional but Recommended): If your dog is prone to infections, apply a few drops of vet-approved cleaner into the ear canal. Gently massage the base of the ear for 30 seconds. You will hear a squishing sound, which means the solution is reaching the bottom of the canal. This step loosens wax and kills potential pathogens.
- Let Them Shake Again: Allow your dog to shake its head again. This expels the liquid from the deeper parts of the canal.
- Dry the Canal Entrance: Take a cotton ball or gauze pad and gently wipe the entrance of the ear canal. Do not go deeper than your little finger. If you cannot see the tip of your finger, you are going too deep. Wipe only what is visible to the naked eye.
- Reward: Give your dog a treat and praise. This positive reinforcement makes the next session easier.
Common Mistakes to Avoid
Even well-meaning owners can cause harm with common errors. Watch out for these pitfalls:
- Using Cotton Swabs Deep Inside: Q-tips are great for cleaning behind the ears, but dangerous for the canal. They can push wax against the eardrum or cause abrasions that lead to secondary infections.
- Ignoring the Smell: If your dog's ears smell yeasty or rotten, it is not just dirt. It is likely an active infection. Stop routine drying and consult a vet before applying home remedies.
- Over-Cleaning: Cleaning more than twice a week can strip natural oils, causing dryness and irritation. Unless directed by a vet, once a week or after swims is usually enough for most dogs.
- Forgetting the Other Ear: It is easy to focus on the one that looks dirty. Always check both ears, as infections can start in either one.
When to See a Veterinarian
Home care works best for prevention. However, some signs indicate a problem that needs professional attention. Schedule a vet visit if you notice:
- Persistent head tilting or shaking.
- Redness, swelling, or heat in the ear flap or canal.
- Unpleasant odor that doesn't go away after cleaning.
- Discharge that is thick, yellow, green, or bloody.
- Scratching so severe it causes hair loss or scabbing.
These symptoms suggest otitis media or otitis interna, where the infection has moved past the external canal into the middle or inner ear. These conditions are harder to treat and can affect balance and hearing if left unchecked.
| Method | Safety Level | Effectiveness | Best For |
|---|---|---|---|
| Towel Wiping | High | Moderate (Outer Ear Only) | All dogs, post-bath |
| Vet-Approved Cleaner + Shake | High | High (Full Canal) | Swimmers, floppy-eared breeds |
| Hairdryer (Cool Air) | Low-Medium | Low | Anxious dogs who tolerate noise |
| Cotton Swab Deep Insertion | Low | Low (Risk of Injury) | Not Recommended |
Breed-Specific Considerations
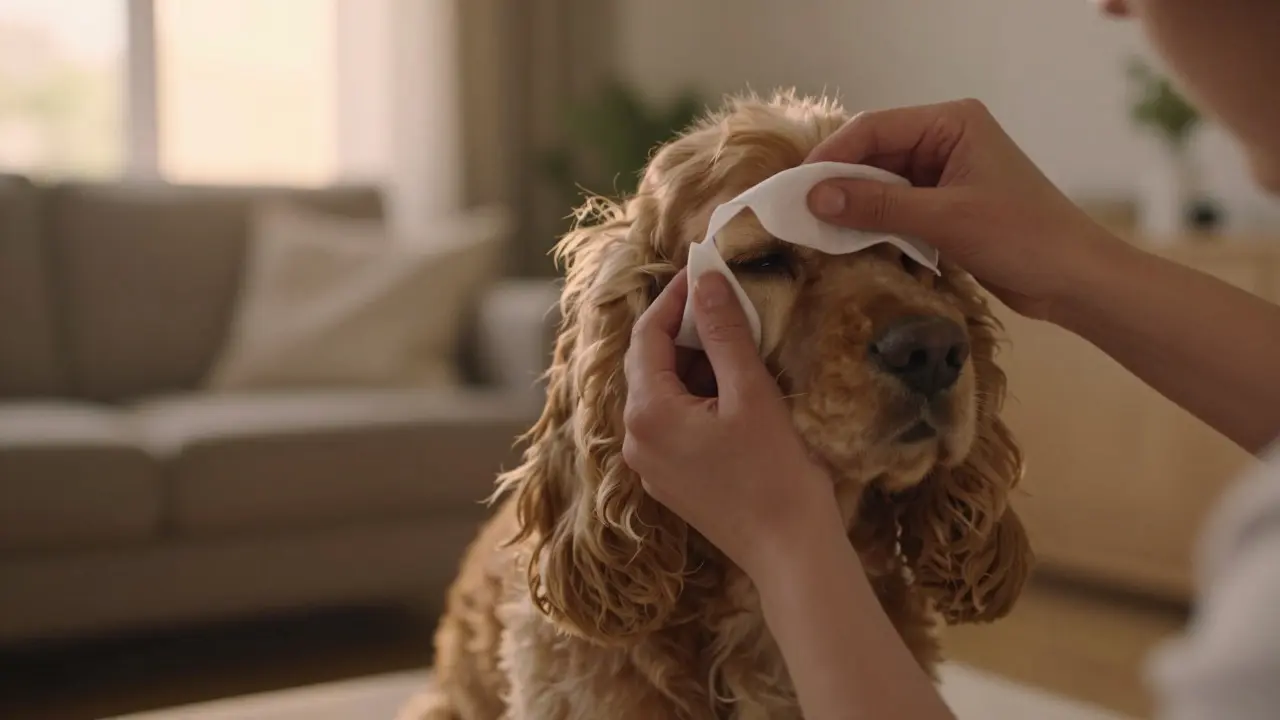
Not all dogs have the same ear risks. Breeds with long, drooping ears like Cocker Spaniels, Basset Hounds, and Beagles have poor airflow in their ear canals. These dogs need extra attention because the hair under the flap traps moisture against the skin. For them, lifting the ear flap and drying the underside thoroughly is crucial.
Conversely, short-haired breeds with upright ears like German Shepherds or Border Collies have better natural ventilation. They may only need a quick towel wipe after a bath. However, if they are frequent swimmers, even upright-eared dogs benefit from a full cleaning routine to prevent algae buildup.
Frequently Asked Questions
Can I use baby oil to dry my dog's ears?
Generally, no. Oil can trap moisture and create a barrier that prevents evaporation, potentially worsening yeast infections. Stick to water-based, vet-approved cleaners or plain towels for drying.
How often should I clean my dog's ears?
For most healthy dogs, once a week is sufficient. Dogs that swim frequently or have floppy ears may need cleaning after every swim or twice a week. Always monitor for redness or odor to adjust frequency.
Is it okay to use hydrogen peroxide on my dog's ears?
Only if prescribed by your veterinarian. Hydrogen peroxide can be irritating to healthy ear tissue and may damage the eardrum if used incorrectly. It is typically reserved for specific medical treatments, not routine drying.
What if my dog resists having its ears cleaned?
Start with positive association. Offer treats when you touch their ears without cleaning. Gradually introduce the tool. Keep sessions short (under two minutes). If resistance is extreme, consider hiring a professional groomer or asking a vet to demonstrate the technique.
Do ear mites cause wet ears?
Ear mites (Otodectes cynotis) typically cause dry, black, crumbly discharge rather than wetness. However, scratching can lead to secondary bacterial infections that produce wet discharge. If you see black debris, consult a vet for mite testing.