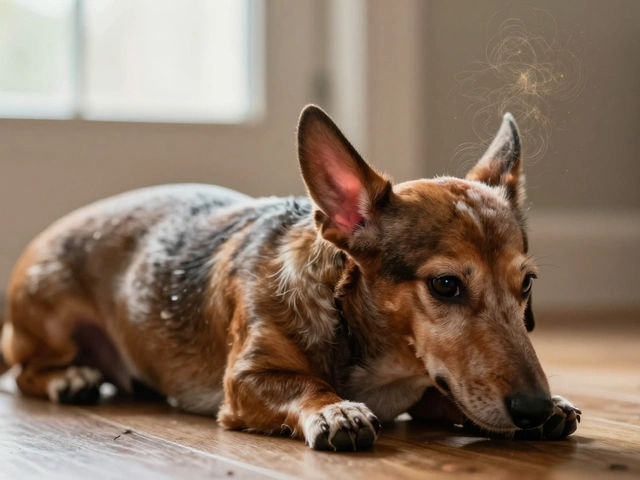
Nothing hurts quite like watching your dog shake its head or scratch at its ears until the skin looks raw. If your pup is prone to canine otitis externainflammation of the outer ear canal, often caused by bacteria, yeast, or allergies, you know that prevention is far better than dealing with a stinky, painful infection later. A consistent daily routine isn't just about keeping things clean; it's about breaking the cycle of moisture and debris that invites trouble.
You don't need to be a veterinarian to keep those ears healthy. You just need the right tools, a gentle touch, and a bit of patience. This guide walks you through exactly how to build a safe, effective daily habit that keeps your dog comfortable and reduces the risk of serious flare-ups.
Why Daily Maintenance Matters More Than Weekly Cleaning
Most owners wait until they smell something off before they act. By then, the environment inside the ear canal has already changed. Moisture trapped in the ear after a bath or swim creates a perfect breeding ground for Malassezia pachydermatisa type of yeast commonly found on dog skin that can overgrow and cause infection and bacteria. For dogs with floppy ears, like Cocker Spaniels or Basset Hounds, airflow is naturally restricted. This means the ear stays damp longer than it should.
Daily care focuses on three key goals: drying the canal, removing surface debris, and checking for early warning signs. When you do this every day, you prevent the buildup that leads to redness and swelling. It’s a proactive approach rather than a reactive one. Think of it like brushing your teeth-you wouldn’t wait for a cavity to form before picking up a toothbrush.
Gathering Your Supplies: What You Actually Need
You don’t need a complicated kit. In fact, using too many products can irritate sensitive skin. Here is the essential list to keep in your bathroom cabinet:
- Veterinary-approved ear cleaner: Look for solutions labeled "ceruminolytic" (breaks down wax) or "drying." Avoid products with alcohol, hydrogen peroxide, or vinegar unless your vet specifically recommends them, as these can sting and damage the eardrum if used incorrectly.
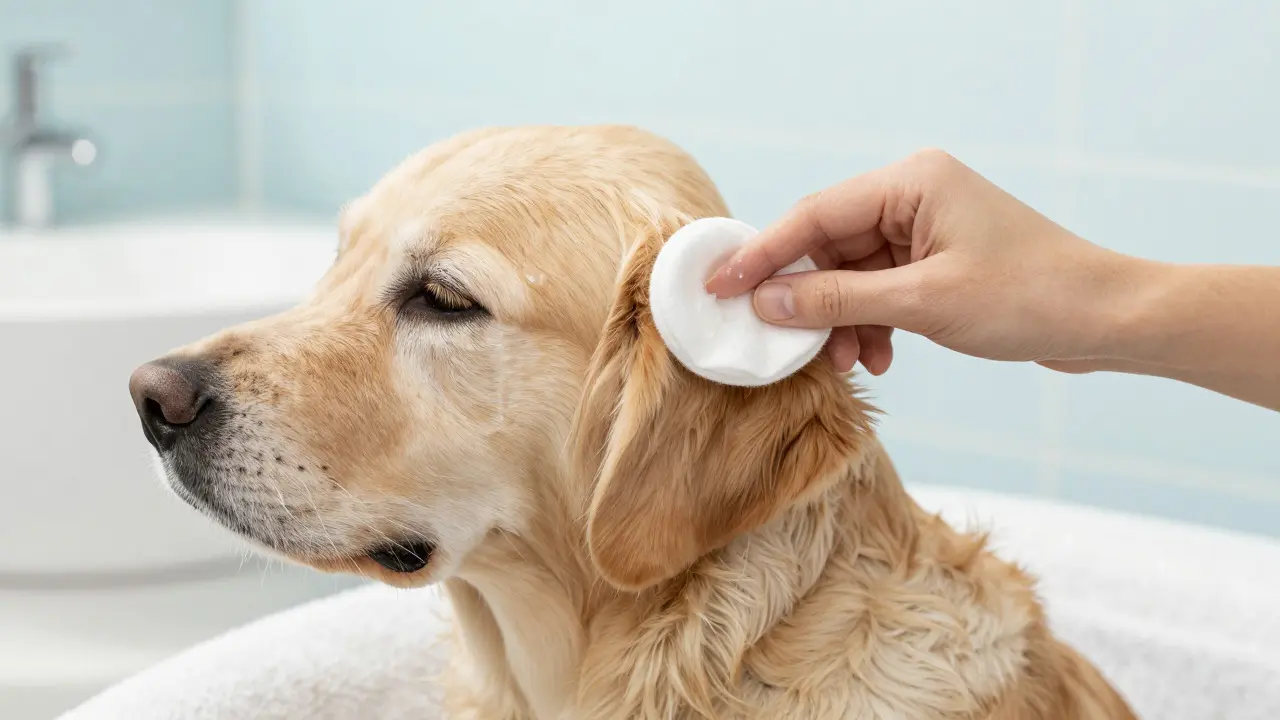
- Cotton balls or gauze pads: These are soft and absorbent. Avoid cotton swabs (Q-tips) for deep cleaning, as they can push debris deeper into the canal or scratch the delicate skin.
- A towel: Have one handy for wiping away excess liquid and for your dog to sit on if they get wiggly.
- Treats: High-value rewards like chicken liver or cheese cubes. Positive association is the single most important factor in making this routine stick.
The Step-by-Step Daily Routine
Timing is everything. The best time to perform ear care is immediately after your dog gets wet-whether from a bath, rain, or swimming. If your dog doesn’t get wet daily, pick a consistent time each evening when they are calm. Here is how to execute the routine safely:
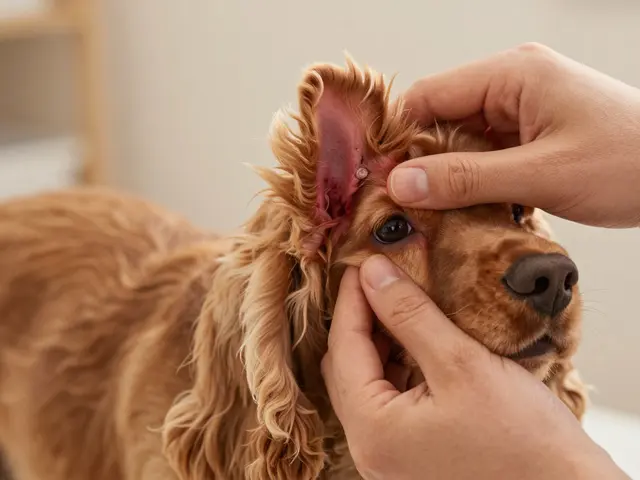
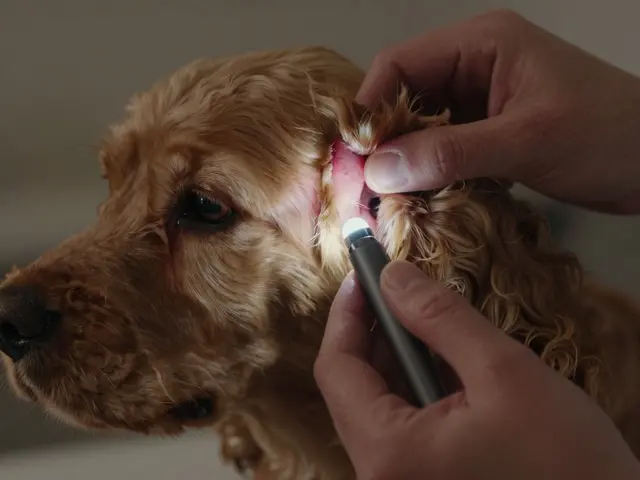
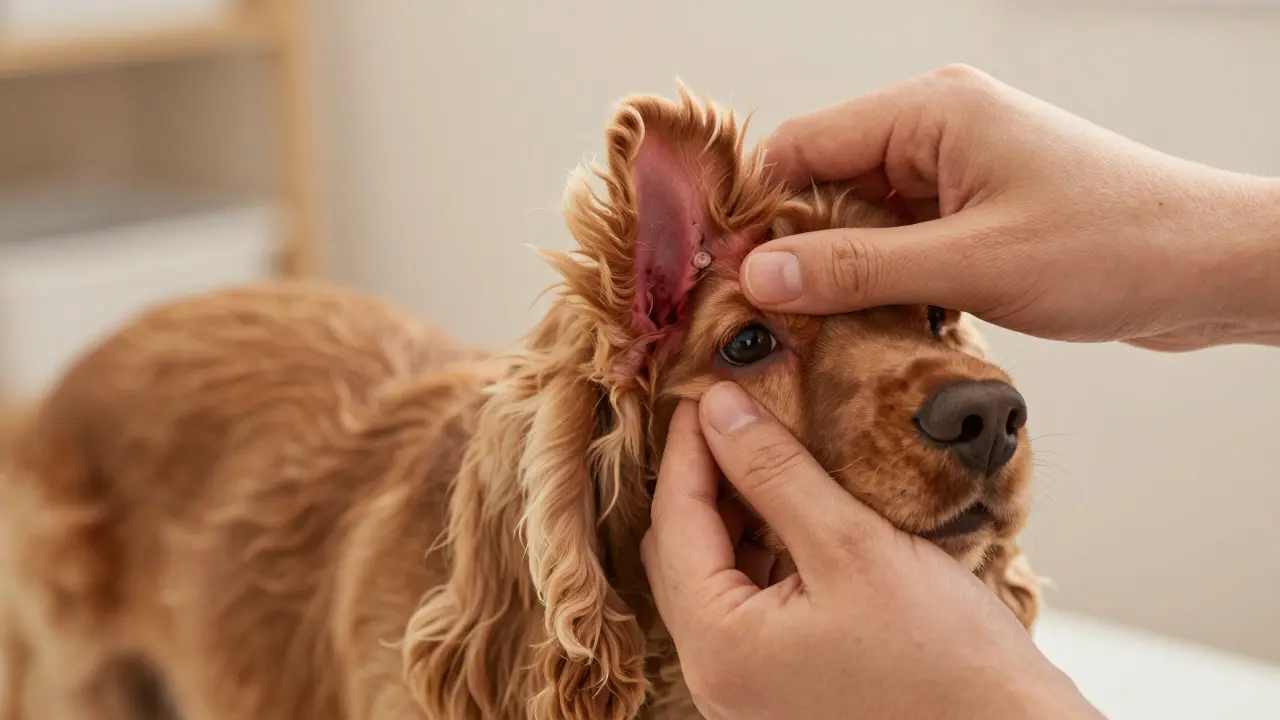
- Inspect first: Before applying any liquid, look inside the ear. Hold the ear flap gently upward to expose the canal. You are looking for color changes (red or brown), discharge (smelly or watery), or swelling. If you see significant pus or blood, skip the cleaning and call your vet.
- Saturate the cotton ball: Dip a cotton ball into the ear cleaner until it is soaked but not dripping. You want enough liquid to coat the inner surface of the ear flap and the visible part of the canal.
- Wipe outward only: Gently wipe the inside of the ear flap and the opening of the canal. Move in a circular motion, always wiping from the center outwards. Never dig deep. If your dog flinches, stop and give them a treat.
- Massage the base: If your vet has approved using the cleaner directly in the canal, place a few drops in the ear. Then, hold the ear upright and massage the base of the ear (behind the jawline) for 30 seconds. You will hear a gurgling sound. This loosens wax and debris.
- Let them shake: Release the ear and let your dog shake their head. This uses centrifugal force to bring the loosened debris to the surface. Don’t try to catch the spray; step back slightly.
- Final wipe and dry: Use a fresh, dry cotton ball or gauze to wipe away any remaining liquid and debris from the outer ear. Ensure the ear feels dry to the touch. Moisture left behind defeats the purpose of the routine.
Common Mistakes That Make Infections Worse
Even well-meaning owners can accidentally harm their dog’s ear health. Here are the pitfalls to avoid:
Using Q-tips too deeply. The ear canal is L-shaped. Pushing a Q-tip past the first bend risks scratching the skin or perforating the eardrum. Stick to the outer third of the canal.
Over-cleaning. Stripping the ear of all natural wax can disrupt the pH balance, making the skin more susceptible to irritation. The goal is maintenance, not sterilization.
Ignoring the root cause. If your dog has chronic infections, daily cleaning alone might not be enough. Underlying issues like atopic dermatitisa chronic inflammatory skin condition triggered by an immune response to environmental allergens or food allergies often manifest as ear problems. Treat the allergy, and the ear issues may resolve significantly.
When to Call the Vet
Daily care is for maintenance, not treatment. You should pause the home routine and seek professional help if you notice:
- Persistent bad odor that doesn’t go away after cleaning.
- Thick, yellow, or bloody discharge.
- Your dog tilts their head constantly or loses balance.
- Signs of pain, such as yelping when you touch the ear or hiding.
- No improvement after 5-7 days of consistent daily care.
In these cases, your vet may prescribe oral antibiotics, topical medications, or antihistamines. Using home remedies during an active infection can sometimes trap bacteria inside, making the problem harder to treat.
Building the Habit: Tips for Success
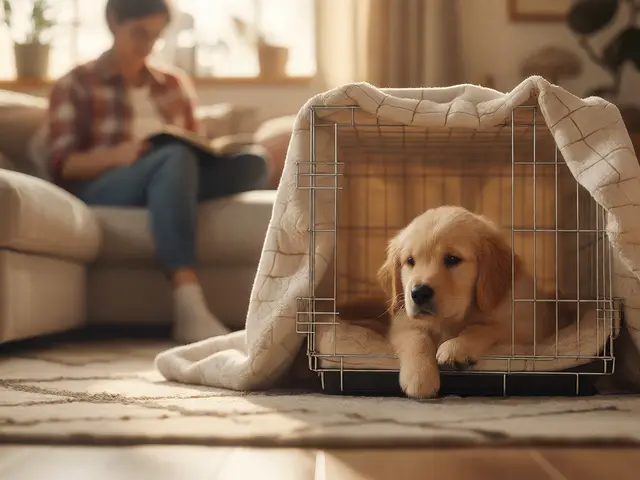
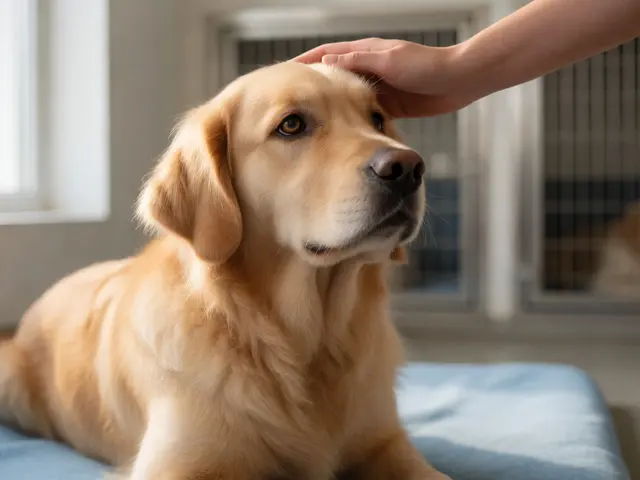
If your dog hates having their ears touched, start small. Spend a week just touching their ears and giving treats without cleaning anything. Gradually introduce the cotton ball, then the cleaner. Keep sessions under two minutes. Speed and positivity beat thoroughness every time. If you have two dogs, do them one at a time to avoid confusion and stress.
How often should I clean my dog's ears if they are prone to infections?
For dogs prone to infections, a daily or every-other-day routine is often recommended by veterinarians to keep moisture and debris levels low. However, frequency should be tailored to your specific dog's needs and climate. If the ears stay dry and clean, you might reduce to twice a week, but monitor closely for any return of symptoms.
Is it okay to use apple cider vinegar to clean my dog's ears?
Generally, no. While some people swear by diluted apple cider vinegar, it can be irritating to broken or inflamed skin and alters the pH balance unpredictably. Unless prescribed by your vet, stick to commercial veterinary ear cleaners designed to be safe for canine ear canals.
What if my dog shakes violently during cleaning?
Shaking is a normal reflex to clear fluid. If it becomes violent or painful, check for underlying inflammation. If the shaking is due to anxiety, slow down, use more treats, and ensure the ear isn't being held too tightly. If pain is suspected, stop and consult your vet.
Can I use human ear drops on my dog?
Avoid using human ear drops unless directed by a vet. Some ingredients safe for humans can be toxic to dogs or ineffective against canine-specific pathogens like Malassezia. Always use products formulated specifically for pets.
Does diet affect ear health?
Yes, significantly. Food allergies are a leading cause of recurrent ear infections. Ingredients like chicken, beef, or grains can trigger inflammatory responses that show up in the ears. An elimination diet trial, supervised by a vet, can help identify if food is the culprit.